

X-Force #10 // Review

X-Force feels the wrath of the jungle in X-Force #10, by writer Benjamin Percy, artist Joshua Cassara, colorist GURU-eFX, and letterer Joe Caramagna. Beast made a miscalculation in how he dealt with the country of Terra Verde, and it came back to haunt his teammates.
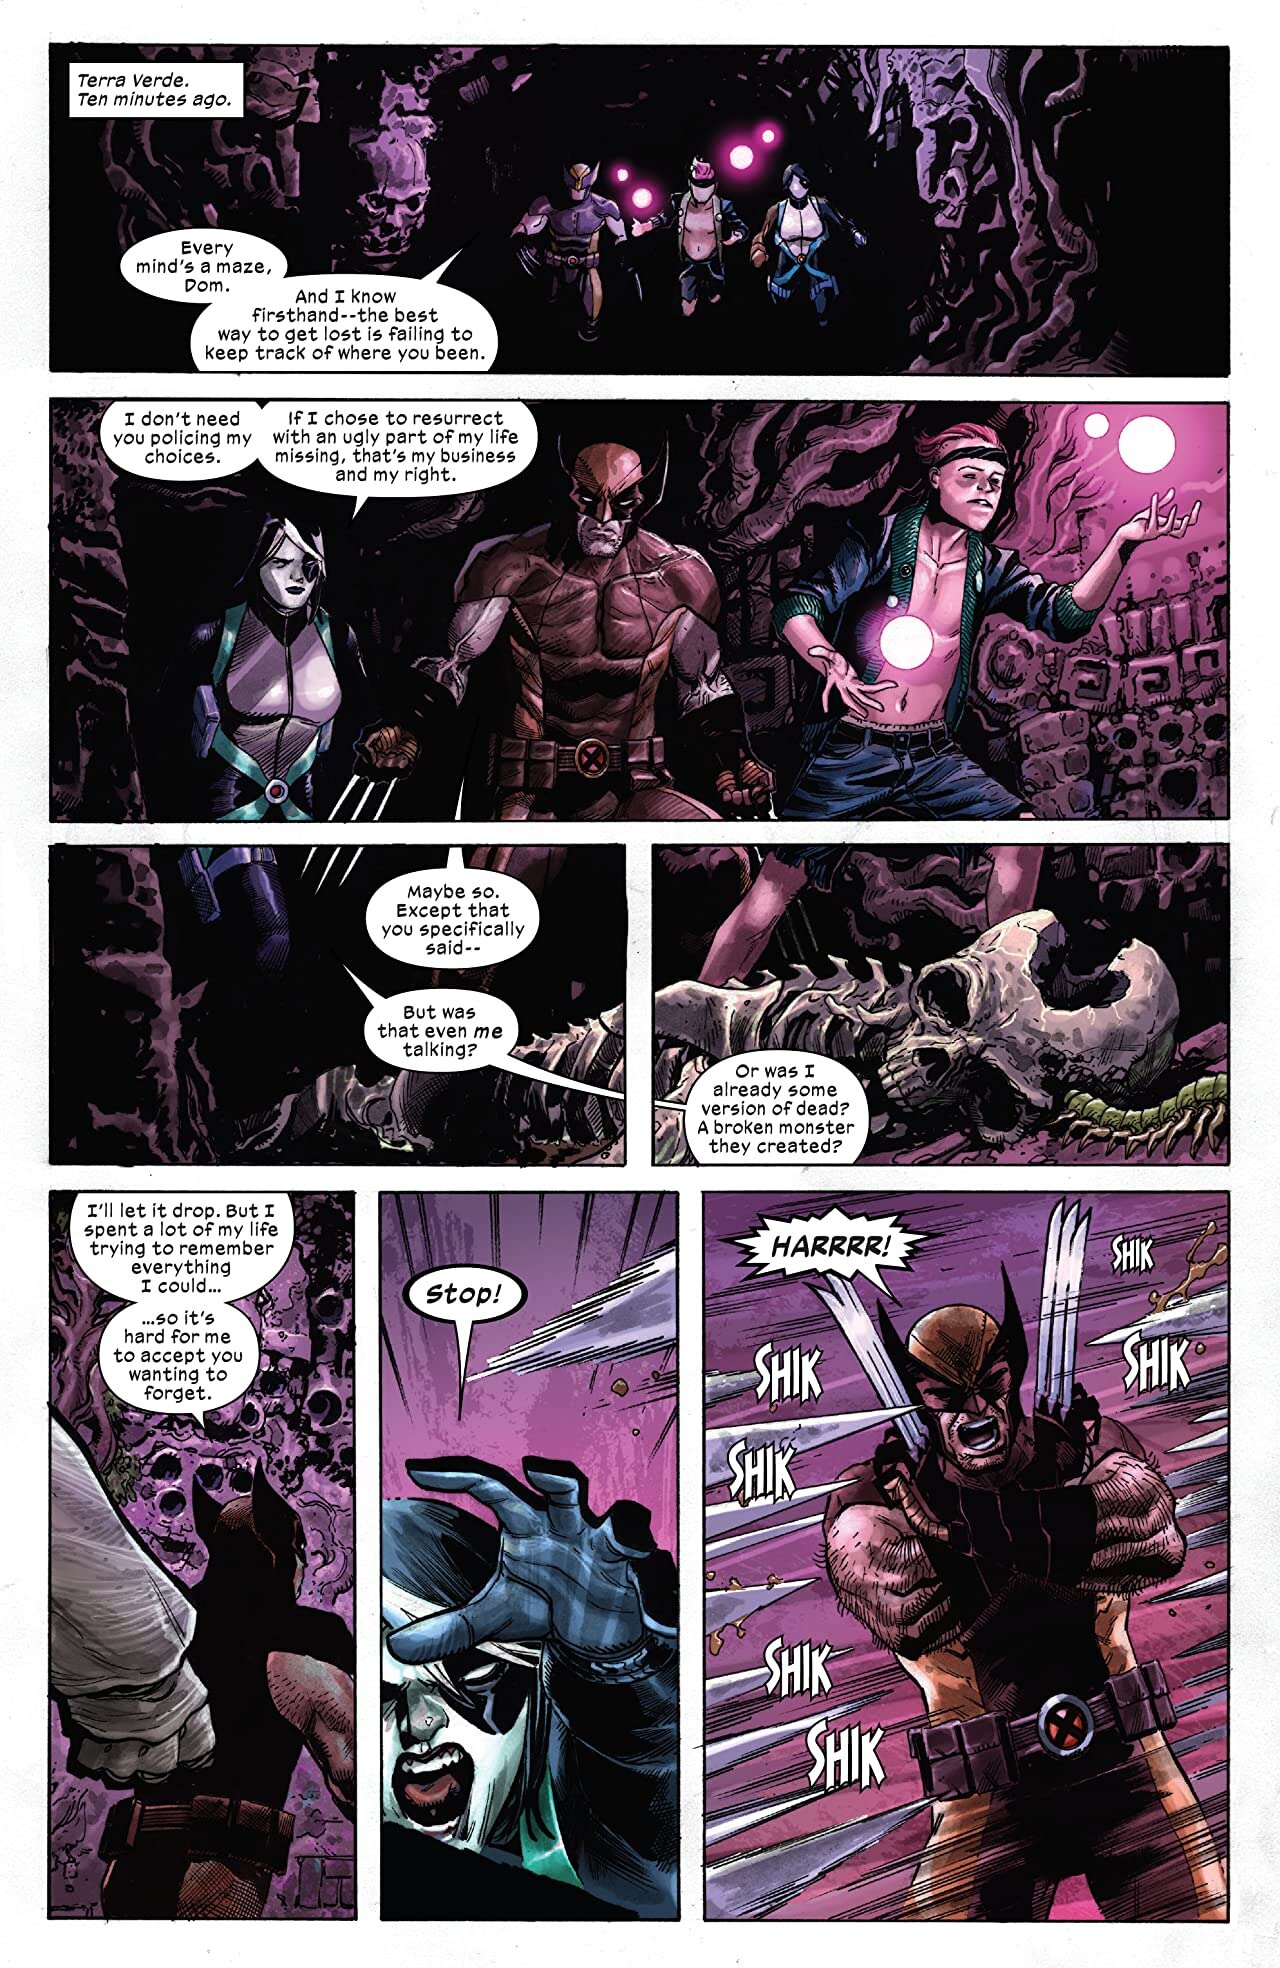
Wolverine, Domino, and Kid Omega make their way into the temple from the last issue. Wolverine springs a trap that Kid Omega saves him from before the two of them are pulled away, leaving Domino alone in the dark. On Krakoa, Black Tom prepares to come to the rescue as Domino makes her way through the temple, eventually finding Wolverine about to be sacrificed by tree people. Back on Krakoa, Jean Grey confronts Beast about his lies to the team about how he dealt with Terra Verde and drops the feeling of the genocide of Terra Verde by the telefloronics he modified. Black Tom is getting overwhelmed, but Jean and Sage show, and the three fight their way into the temple. Inside, Kid Omega has been consumed by plants, and Domino's losing her battle when Wolverine breaks free. He fights them off for a bit but is overwhelmed when back-up arrives. Jean, Sage, and Black Tom pool their powers and shut down the telefloronic mass. Later on Krakoa, Jean Grey, tells Wolverine that she's decided to quit X-Force.
The most important revelation of this issue is that Wolverine and Jean are having a relationship. It's revealed at the end, which means readers are two-thirds of the way to confirm the Scott-Jean-Logan poly.
All kidding aside, this is a pretty good issue. At the beginning of the chapter, Wolverine keeps up his confrontation with Domino about her having parts of her memory erased during her last resurrection. Wolverine knows a lot about not remembering and can't understand why anyone would voluntarily allow themselves to forget anything and reminds Domino how she used to say she wanted to remember everything. Domino counters with how they even know that old version of her was even real, and it's these few sentences that make readers ask a crucial question about Krakoan resurrection- how real are the results? How much of the person that comes back is actually them that said or did those things? It's a system that's rife with potential for abuse. If the system is in any way corrupted, if the data that is their memories are messed up at all, the person that results isn't them.
Elsewhere in the issue, Jean takes charge. She knows Beast lied about what he did- she's a telepath. Beast counters that X-Force is all about lying, but Jean tells him something that didn't occur to him- lies are for the masses, not the team. She then makes him feel how his mistake has affected not just Terra Verde but also how Krakoa might have been affected. She then takes charge of the mission and saves the day. Her conversation with Wolverine is short but says a lot- he sort of knew that she wasn't completely cut out for the work. Jean feels that this new mutant dawn is about optimism, but Wolverine makes an interesting point- to get the best, sometimes you have to do the worst.
Joshua Cassara's art is great. The temple's sequences look really good, and the picture of Kid Omega, taken over by plants, has a wonderfully horrific quality to it. The whole end sequence, as Wolverine battles the telefloronics as Domino is consumed, and Jean, Sage, and Tom shut them down is just incredible. There's a lot of tension, and Cassara's artwork does a great job of communicating this.
X-Force #10 does a lot of great stuff. It questions Krakoan resurrection in a sequence that doesn't seem very important but plays into a lot of what Percy has been doing in this book. Jean having it out with Beast and saving the day is perfect. As someone who knows the truth by instinct, Jean doesn't take well to Beast's lies. It also kind of shows how inadequate Beast is for the job he's been given. Joshua Cassara's art does a beautiful job of making everything work. X-Force #10 proves why this book has been a secret highlight of Dawn Of X.
Grade: B+
![X-Force 10 3].jpg](https://images.squarespace-cdn.com/content/v1/58c35f74d1758e424ee76710/1594808951194-WY778X40U2BNU9NWJPG3/X-Force+10+3%5D.jpg)


