

Angel #3 // Review
It’s unclear what, exactly, is the purpose of the new Angel series from Boom! Studios, releasing its third issue this week. It’s a companion piece to their Buffy the Vampire Slayer series. Which rebooted the entire Buffyverse franchise; that series has a reasonable hook, which is to see how those beloved characters would handle high school in 2019, as opposed to high school in the late 1990s. Angel, on the other hand, lacks that hook, but also seems to lack the history and depth that the character had developed on television before spinning off into his own series, making it sort of a blank slate that requires a purpose.
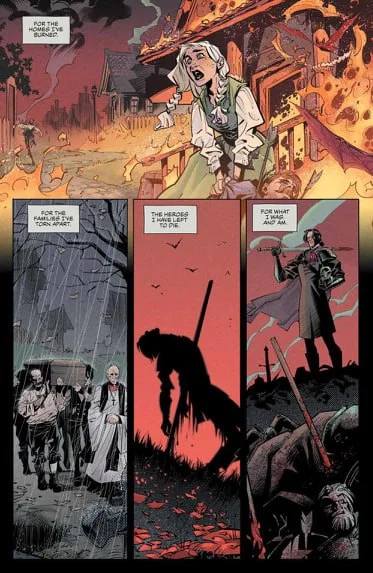
This issue mostly sidelines the main plotlines of the first two issues. The social media demon, and the flashbacks to Angel’s past. Instead, focusing on his current situation as Angel connects with Winifred “Fred” Burkle, the beginning of the formation of the Angel Investigations team we know and love.

While the issue has some nice character moments, it feels like a retread. For fans of the show who already know Angel and Fred better than the writer, Bryan Edward Hill seems to know them, and the plot elements of the issue are extremely slight. Hill does pepper in some clever moments, like a cute scene with a water balloon filled with holy water.

The book’s art is solid. The visual storytelling by Gleb Melnikov is clear and compelling, and the character design is reminiscent of Greg Capullo. The colors by Roman Titov are appropriately moody, and letterer Ed Dukeshire does great work as well.

There’s solid work in Angel #3. It’s slowly laying the groundwork for new adventures of the Angel/Fred/Gunn/Wesley team we all know and love. It’s a shame the book is constrained by a reboot, that mostly serves the needs of another book.


